A modern terminal for Windows

Always wanted your terminal to look and function like that of a professional developer? This post is my attempt at providing a concise guide to setting up a modern terminal, while explaining essential terminology and decisions made along the way.
To make for a truly slick experience, I have considered different terminals, shells, prompts and hotkeys, as well as command-line tools and plugins, including typeahead and fuzzy search.
A quick tip 💡
Customizing your terminal can be time-consuming, so I use a simple trick to avoid repeating the process.
My home directory is a git repository. I track only specific config and settings files while ignoring everything else.
This keeps my setup consistent and makes syncing configurations across machines effortless.
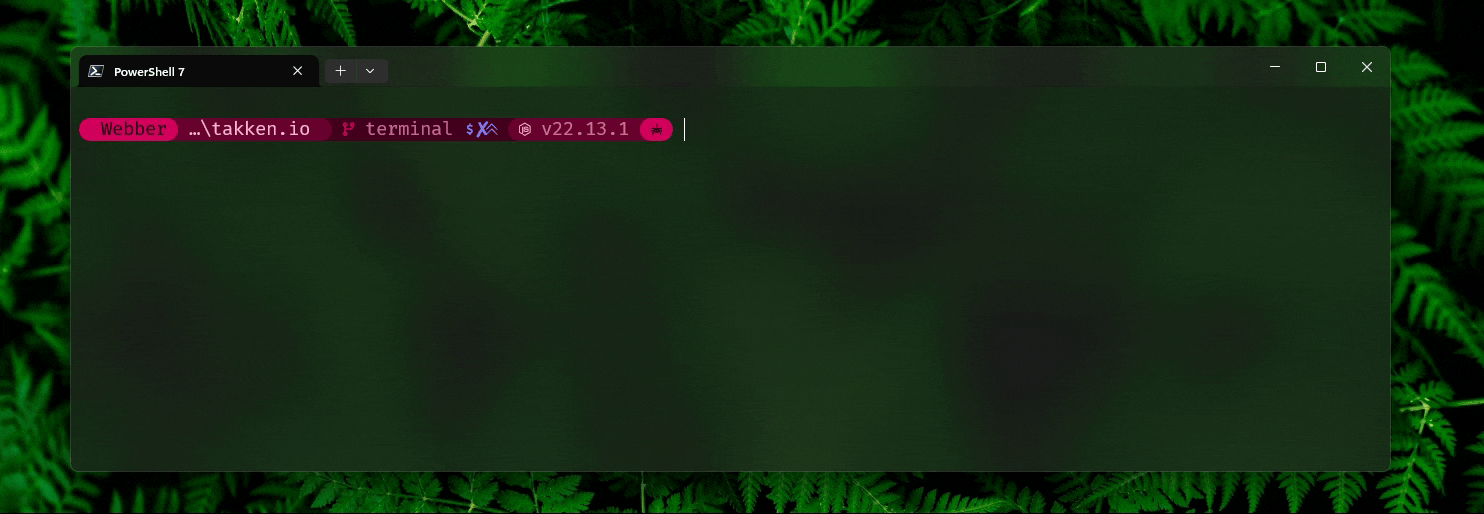
TL;DR
Just looking for the result?
Here's the result you'll get if you follow along.

Technologies used:
- Windows Terminal
- PowerShell 7
- Nerd Font
- Dracula theme
- Starship
- Terminal-Icons
- PSReadLine
- PSFzf
- Git for Windows, with "Optional Unix tools" option enabled.
Configuration files:
The Terminal
For the purpose of this post, I'll differentiate between terminal, shell and prompt. Let's
start with the terminal.
Definition
Historically, a terminal was a physical device consisting of a keyboard and a display (first image),
used for interacting with a computer. Nowadays, we basically wrap a virtual version of such a
terminal in our operating system using a window (second image). Technically, it would be called a
terminal emulator but it's usually called terminal for simplicity.


Choice
There are different terminals out there, each with their pros and cons and different way of configuration. Personally, I've used ConEmu, Cmder, windows-terminal-quake and Windows Terminal.
Out of those, I've found Windows Terminal to be the most modern and easy to use. It's also actively developed by Microsoft. It supports tabs, panes, key bindings, different fonts and character sets, custom themes, quake-style console and much more.
Installation
Install Windows Terminal
To install Windows Terminal you have the choice to install it from the Microsoft
Apps Store, by installing the
.msi from the assets section of the
latest release directly, or using a Windows
package manager below.
Chocolatey
choco install microsoft-windows-terminal
Winget
winget install -e --id Microsoft.WindowsTerminal
Scoop
scoop bucket add extras
scoop install -g windows-terminal
Once installed, Windows Update will keep Windows Terminal up-to-date for you.
Once you've installed Windows Terminal, run it. It should look similar to the image below.

By default, it opens an outdated version of PowerShell, that can be recognised by its blue icon.
The first message printed on the terminal is a suggestion of replacing that with something more modern. Let's do that next.
The Shell
Definition
A shell is a digital interface that allows users to interact with the operating system. It can be
graphical, like the Windows Explorer, or command-line based, like Command Prompt (aka cmd) and
PowerShell. A shell lets you navigate the system, modify its files and launch scripts and
applications.


Introduction
If you're a Windows user, chances are you've used Command Prompt, Git Bash, WSL or PowerShell before. If yes, then you've most likely also found that not all commands work in your preferred shell.
For Linux commands you might opt for Git Bash or WSL with Ubuntu running Bash, whereas for Windows specific commands you've probably used PowerShell or Command Prompt.
Working out how to cater for most use cases in a single shell can also take much time. Especially if you like to integrate the various available productivity tools into it.
Rationale
To me, switching between multiple shells comes with two major downsides. Firstly, you lose the context that you are working in, which means that you can not easily chain commands, reuse output or pass variables between the shells. Secondly, each shell has unique configurations and quirks, requiring setup and making for a learning curve. That means double the effort, the occasional confusion and a huge inhibitor for becoming a command line power user.
Therefore, I'd argue that it is valuable to choose a single shell environment and master it thoroughly. It is, then, also important to choose a shell that modern and powerful enough for most use cases.
Luckily, today there are excellent tools available that can make a Windows shell almost as powerful as their Linux counterparts.
Choice
I've found PowerShell 7 to be the most modern and powerful command-line shell for Windows. It is open-source, works across Windows, Linux and MacOS and features a built-in scripting language. It also allows you to easily install plugins. PowerShell is well maintained and has a decent ecosystem.
Installation
Install PowerShell 7
To install PowerShell 7 you have the choice to install it from the Microsoft
Apps Store, by installing the .msi from
the assets section of the latest release
directly, or using a Windows package manager below.
Winget
winget install -e --id Microsoft.PowerShell
Alternatives
Below you will find the considered alternatives, each provided with a short rationale.
Command Prompt aka cmd
Why not cmd.exe?
For many a no-brainer, for others not so much because cmd is familiar, and it never failed them.
In 2016, Command Prompt or cmd.exe was
deprecated
as the default shell in Windows 10, version 1607. While there's no indication of cmd.exe being
removed, it is clear that Microsoft sets the direction in favour of the more modern and powerful
PowerShell.
Tools and features that are released after this deprecation may not work with Command Prompt because they may rely on the advanced scripting capabilities and object-oriented nature of PowerShell.
I would recommend stop using it entirely for those reasons.
Windows Subsystem for Linux (WSL)
What about WSL?
I like Windows Subsystem for Linux (WSL). It allows you to do Linux-specific things from your
Windows machine very quickly. Most commonly used with Ubuntu, it allows you to install applications
using the standard package manager. It can be instrumental when prototyping commands to be used in
CI workflows.
You can create a great experience using Windows Terminal with OhMyZsh in WSL2.
However, I wouldn't recommend using it as your main shell, because a different kernel hides the problem and creates a new category of problems, as you now have to manage your projects for two operating systems.
For example, in many cases the dependency installation process (i.e. yarn install,
cargo install, go get, pip install) may create OS-specific bindings for some packages, meaning
the resulting local files won't work on other OSes. All other applications (e.g. IDEs, linters,
formatters etc.) now also have to be mapped to use WSL.
WSL also lacks direct integration with Windows-specific features and commands. And since your environment is now effectively linux, it can lead to compatibility issues with Windows-based scripts and the scripts you create will not work for other Windows users, unless they are also using WSL.
Lastly, while WSL does support the pass-through of physical devices (GPU and USB devices through WDDM GPU-PV + WSLg and USBIPD-WIN, respectively), in my experience, using graphics- or USB devices can be cumbersome.
My recommendation would be to use it when you specifically need a Unix/Linux environment. Not as your default terminal.
Git Bash, MinGW, MSYS
And what about Git Bash / MinGW / MSYS?
MSYS focuses on providing a native Unix-like shell environment and tools to support the
development process, especially for projects being ported from Unix/Linux to Windows.
MinGW stands for "Minimalist GNU for Windows." It focuses on providing a GCC compiler system for
developing native Windows applications. It uses MSYS under the hood to include a set of tools
allowing applications written for GNU/Linux to be compiled and run natively on Windows.
Git Bash is a Windows-ported version of bash. It offers a Unix-like command-line environment on
Windows, making it familiar for users with Unix/Linux experience. It uses MinGW under the hood.
Using Git Bash or MinGW as your default terminal has the same environmental drawbacks as using
WSL with Ubuntu.
The optional Unix tools that come with Git for Windows can still be used in any other shell.
I'd recommend to use them as needed, but probably not as your default terminal.
The Prompt
This brings us to the third important part of the terminal setup: the prompt.
Definition
The prompt is the text that indicates the shell is ready to accept commands. It can be customised to show specific information, like the current directory, the time and the exit code of the last executed command.
Modern prompts can also show context specific information. A couple of examples:
- display the git branch (or other VCS equivalent) of the folder that you're in.
- show the status of the repository, like untracked files, staged files, etc.
- show the currently active language runtime for a project, like
go,node,python, etc.
Rationale
A great prompt can be very helpful for productivity. Ideally you'd be able to see with the blink of
an eye what project you're working on, what branch you're on and what version of bun, rust or
other language runtime you're using in your project.
And instead of having to type echo $? or echo $LastExitCode to find out whether the last command
ran successfully or not, wouldn't it be useful it would just show you red or green in your next
prompt?
I believe the best prompt possible would have the following characteristics:
- Run extremely fast, so that the terminal doesn't feel laggy.
- Be portable across different shells.
- No over information; show just practical information.
- Show that needed information in a concise way, using symbols and colours where possible.
Choice
For years, I've used Oh-My-Posh, combined with PoshGit. But more recently I've started using Starship. And while both are great options, The latter is definitely the much more modern option here.
Starship
Starship is written from the ground up in Rust, with high performance in mind. It has made prompt configuration so simple that creating your own config has become very accessible. It is also cross-platform and works on any shell.
On their discussions page, the community shares their setups and custom commands and modules. These can be very useful for inspiration purposes.
Nerd fonts
Nerd fonts is an amazing open source initiative that takes existing fonts, and adds glyphs and icons to it. These fonts are specialised for use by developers, in IDEs and Terminals.
Installation
These are the steps to installing Starship.
- Install a Nerd font
- Install Starship
- Tell your shell to use Starship for it's prompt
Install Nerd font and Starship
Install Nerd font
First you need to download and install a monospace-style Nerd font of your choice. Then you need to configure your terminal to use that font.
Install Starship
Next, you can install Starship using your favourite package manager below, or by following the official guide.
Chocolatey
choco install starship
Winget
winget winget install --id Starship.Starship
Scoop
scoop install -g starship
Tell your shell to use Starship
Follow the instructions to set up your shell to use starship.
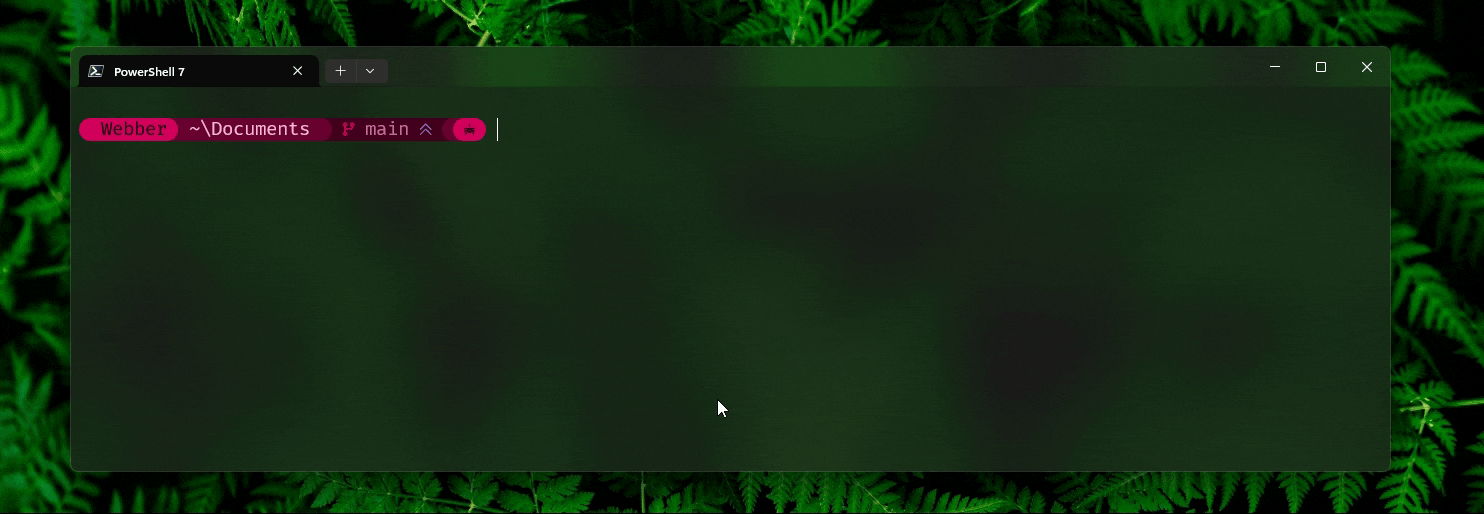
Once you've configured your shell to use Starship, restart your terminal. If you did everything correctly, your terminal should look similar to the image below.

From here you can go in many directions in terms of configuration and adding plugins. I'll dedicate a few short chapters on what I've set up below.
Theme config
Choice
Ever heard of Dracula theme?
As a developer it's important to reduce your cognitive load where possible. And once you get used to a theme, you'll learn to recognise the meaning of each colour in different contexts, which will reduce that load. For this reason I use the same developer-oriented colour scheme, called Dracula, across many applications, including my terminal.
Test method
In Starship's discussion called "share your setup", people have resorted to using neofetch or
fastfetch as a quick way to show structured information and the colour palette. Let's do the same!
We'll install the better maintained and cross-platform fastfetch.
winget install -e --id=Fastfetch-cli.Fastfetch
Then run it.
fastfetch
Expected result
Here's a before and after picture, when applying Dracula theme.


As you can see, the changes are subtle. The slightly softer colours will however make it much easier to look at an information overload, as they won't 'scream' so much. And the slightly darker whites works better on light backgrounds, and it's fine-tuned for use with autocompletion.
Installation
Start by following the official instructions to install Dracula in Windows Terminal.
Optionally, use my fine-tuned optimisations
Configure theme optimisations
In the profiles section, I've changed the defaults to look like this:
{
  "profiles": {
    "defaults": {
      "background": "#0C0C0C",
      "colorScheme": "Dracula Webber",
      "font": {
        "face": "FiraCode Nerd Font Mono",
        "size": 14
      },
      "opacity": 70,
      "useAcrylic": true
    }
  }
}
And my scheme like this:
{
  "schemes": [
    {
      "name": "Dracula Webber",
      "background": "#22212C",
      "black": "#22212C",
      "blue": "#5D4FA1",
      "brightBlack": "#7E7A94",
      "brightBlue": "#907AFF",
      "brightCyan": "#84FFEA",
      "brightGreen": "#7FFF73",
      "brightPurple": "#FF99CC",
      "brightRed": "#FFAA99",
      "brightWhite": "#FFFFFF",
      "brightYellow": "#FFFF99",
      "cursorColor": "#FFFFFF",
      "cyan": "#5ADBC6",
      "foreground": "#A2AECA",
      "green": "#51D378",
      "purple": "#FF80BF",
      "red": "#E74A2A",
      "selectionBackground": "#8B89FF",
      "white": "#F8F8F2",
      "yellow": "#FFFF80"
    }
    // ... other schemes here.
  ]
}
Prompt config
Choice
Starship allows you to create and share prompt configurations. They also have a couple of presets to choose from.
Since I was quite interested to have my own personalised prompt configuration that I can iterate on over time, I've chosen to learn from the presets and build my own.
Building your own config can be fun. It does have a bit of a learning curve, and it is fairly time-consuming at first.
Installation
Installing my config is simple.
- Open the Starship config.
code ~/.config/starship.toml
- Copy the contents of my config and paste it in there.
- Save the file.
That's it!
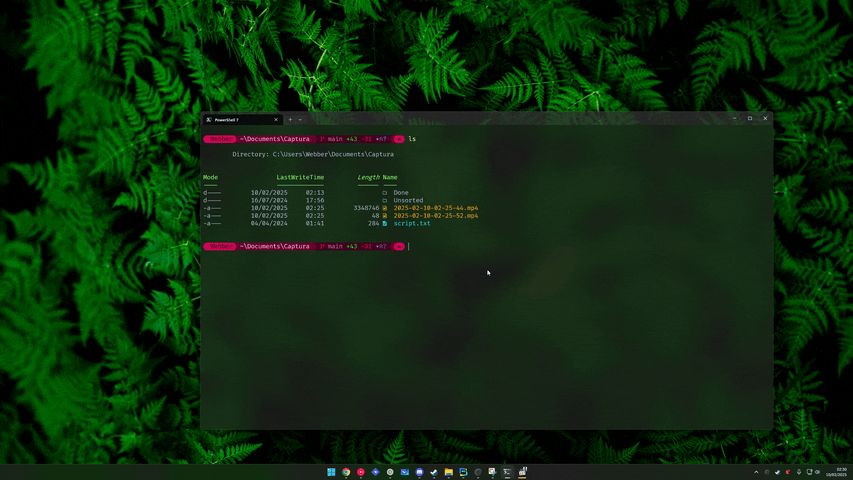
When you now press 'enter' in your terminal, the change should be reflected as shown in the image below.

Terminal Icons
There's a nifty plugin called Terminal Icons. It uses icons and colours that help you recognise common files in the blink of an eye.
Installation
Install Terminal Icons
Open the powershell configuration
code $PROFILE
Add the following line to the end of the file.
Import-Module -Name Terminal-Icons # Icons when listing directories
Save the file and restart your terminal.
Here's my PowerShell profile.
Autocompletion
Now that things are starting to look good, let's add some functionality.
There are a few types of autocompletion that I find very useful.
Types
Basic autocomplete
You type a few characters. A suggestion appears. You use ctrl+f to accept one word, or
ctrl+space to accept the complete suggestion.
Tab autocomplete
You type a few characters. You press tab to cycle though the different options.
Using history
You can use the up and down arrow keys to cycle through previously used commands.

Fuzzy search
Fuzzy search allows you to query the history, autocomplete suggestions, files and folders, by typing a partial match.
Example
If you are looking for a folder called ~/Repositories/takken.io, you can type things like
repotak to find it. See highlights for query matches.

Hotkeys
Alt+Cto quickly change directoryCtrl+Tto autocomplete filesCtrl+Rto search and autocomplete from history
This is where a few keystrokes can start to become very powerful.
Since this is fuzzy search, you can search any character in the string, not just the first characters.
Installation
To achieve autocompletion for above examples we'll need two plugins. PSReadLine and PSFzf.
Install autocompletion
Open the powershell configuration
code $PROFILE
Add the following lines to the end of the file.
Import-Module -Name PSReadLine # typeahead predictions and whatnot
Import-Module -Name PSFzf # activate using `Ctrl T`, `Ctrl R` and `Alt C`

# Advanced completion features (arrow up and down after having started typing)
Set-PSReadLineOption -HistorySearchCursorMovesToEnd
Set-PSReadLineKeyHandler -Key UpArrow -Function HistorySearchBackward
Set-PSReadLineKeyHandler -Key DownArrow -Function HistorySearchForward

# Autocomplete suggestions
Set-PSReadLineKeyHandler -Key Tab -Function MenuComplete # options: [Complete|MenuComplete]

# Autocomplete predictions [HistoryAndPlugin, History, Plugin] requires PS 7.1+
Set-PSReadLineOption -PredictionSource HistoryAndPlugin # accept prediction using right arrow
Set-PSReadLineOption -Colors @{ InlinePrediction = '#888888' }

# accepting suggestions
Set-PSReadLineKeyHandler -Chord "Ctrl+f" -Function ForwardWord # Accept one word
Set-PSReadLineKeyHandler -Chord "Ctrl+Spacebar" -Function ForwardChar # Accept full suggestion
Save the file and restart your terminal.
Here's my PowerShell profile.
Unix tools
Some of the most common Linux commands are available as part of Git's "Optional Unix tools" package.

Installation
All you have to do is install Git for Windows with the "Optional Unix tools" option enabled.
Install Unix tools
Either download the .exe from the official website or open the
terminal as administrator and run the following command:
choco install -y git --params "/GitAndUnixToolsOnPath /WindowsTerminal /NoAutoCrlf"
Quake-style console
The Quake-style console is a terminal that slides down from the top of the screen when you press a hotkey. It's a great way to quickly access the terminal without having to switch windows.
Installation
Install Quake-style console
- Open Windows Terminal. Press
Ctrl+,to open the settings. - Open the
settings.jsonfile. - Add the following to the
actionssection.
{
  "command": {
    "action": "quakeMode"
  },
  "id": "User.quakeMode.F1E129A4",
  "keys": "ctrl+`"
},
- Save the file. Settings are applied immediately.
Now press Ctrl + ` (below your Esc key) to open the Quake-style console.
Here's my Windows Terminal settings.json.
Split panes
Split panes are a great way to multitask in the terminal. For example, run an application in one pane, and while that application runs, enter commands in a different pane.
See official docs about panes for more information.
Split pane hotkeys
Panes are natively supported in Windows Terminal. You can use the following hotkeys to manage them:
- Split horizontally:
Alt+Shift+- - Split vertically:
Alt+Shift++ - Close pane:
Alt+Shift+W
- Top:
Ctrl+Alt+Shift+Up - Right:
Ctrl+Alt+Shift+Right - Bottom:
Ctrl+Alt+Shift+Down - Left:
Ctrl+Alt+Shift+Left
Once you know the hotkeys it works super fast and smooth.
Installation
These hotkeys should mostly work out of the box. If you want to change them, you can do so by
modifying the settings.json file.
Configure split hotkeys
- Open Windows Terminal. Press
Ctrl+,to open the settings. - Open the
settings.jsonfile. - Add the following to the
actionssection.
{
  "command": "closePane",
  "id": "Terminal.ClosePane",
  "keys": "ctrl+shift+w"
},
{
  "command":{
    "action": "splitPane",
    "split": "auto",
    "splitMode": "duplicate"
  },
  "id": "User.splitPane.A6751878",
  "keys": "alt+shift+d"
},
{
  "command": {
    "action": "splitPane",
    "split": "down",
    "splitMode": "duplicate"
  },
  "id": "User.splitPane.10B260D2",
  "keys": "alt+shift+minus"
},
{
  "command": {
    "action": "splitPane",
    "split": "right",
    "splitMode": "duplicate"
  },
  "id": "User.splitPane.FEF0D40B",
  "keys": "alt+shift+plus"
},
{
  "command": {
    "action": "splitPane",
    "split": "up",
    "splitMode": "duplicate"
  },
  "id": "User.splitPane.7A967A9",
  "keys": "ctrl+alt+shift+up"
},
{
  "command":  {
    "action": "splitPane",
    "split": "right",
    "splitMode": "duplicate"
  },
  "keys": "ctrl+alt+shift+right"
},
{
  "command":  {
    "action": "splitPane",
    "split": "down",
    "splitMode": "duplicate"
  },
  "keys": "ctrl+alt+shift+down"
},
{
  "command":  {
    "action": "splitPane",
    "split": "left",
    "splitMode": "duplicate"
  },
  "id": "User.splitPane.652D529A",
  "keys": "ctrl+alt+shift+left"
}
- Save the file. Settings are applied immediately.
Here's my Windows Terminal settings.json.
And there we have it. A modern terminal setup for Windows.
Limitations
The terminal setup I've described is very powerful and modern. It's also very customisable. But it does take about half a second to load and does have some limitations when it comes to third party integrations.
Some modern tools and services export configuration for command completion. These are often written for Unix-like systems and might not always be compatible with PowerShell or Windows-based systems.
Some of the most used completion tools:
| Tool | Supported | How to make it work |
|---|---|---|
kubectl completion | ✅ | kubectl completion powershell >> $PROFILE |
helm completion | ✅ | helm completion powershell >> $PROFILE |
terraform completion | ❌ | Terraform target completion |
docker completion | ❌ | DockerCompletion |
Conclusion
For years, the terminal experience in Windows has left much to be desired. But with Microsoft's recent efforts, the terminal experience has improved significantly. Windows Terminal and PowerShell 7 are very modern, and no longer lag behind their Unix counterparts.
There are many components to a full terminal setup. At every step there are multiple options to consider. Having a combination that works for almost every use-case without too many edge cases can be a challenge.
By using Starship, Terminal Icons, and autocompletion features that can deliver an impressive terminal experience.
I hope this guide has been helpful to you. If you have any questions or suggestions, please leave a comment below.
Glossary
In everyday use, you might find the terms 'terminal', 'console', and 'shell' used interchangeably, often referring to the interface you type your commands into on a Unix-like or Windows system.
| Term | Definition | Examples |
|---|---|---|
| Terminal (emulator) / Console window / Tty | The window that hosts the shell. (e.g. | GNOME Terminal, Windows Terminal, iTerm2, Cmder, WezTerm |
| Shell | The software that interprets the commands and renders output. | Sh, Bash, Zsh, Fish, PowerShell |
| Prompt | The text that indicates the shell is ready to accept commands. | (shell native), Starship, Oh-My-Posh, Powerlevel10k |
| Profile | The script that runs when the shell starts and sets up the environment. | PowerShell profile, .bashrc, .zshrc |
| Module | A collection of functions and scripts within PowerShell. | Oh-My-Posh, Terminal Icons, PSReadLine, PSFzf |